How to make pandan chiffon cake
Today I'm going to show you how to make my mom's favourite cake - Pandan Chiffon Cake. My mom would buy this for us growing up in Taiping. To make this cake again - and taking a bite of it - is a way for me to relive a past that's simpler, happier, and most importantly and paradoxically, present.
This is the original recipe I googled to begin with. And this post adds to that in terms of visual instructions, lessons and intuitions from me making over 10 of them to date.
So hang on to your shorts and let me show you how I make my Pandan Chiffon Cake.
Pandan juice
First, we need to get ourselves some fresh pandan leaves. They are easy to plant and grow.
Then cut them into chunks of 3cm each - or any length at which they can start blending.
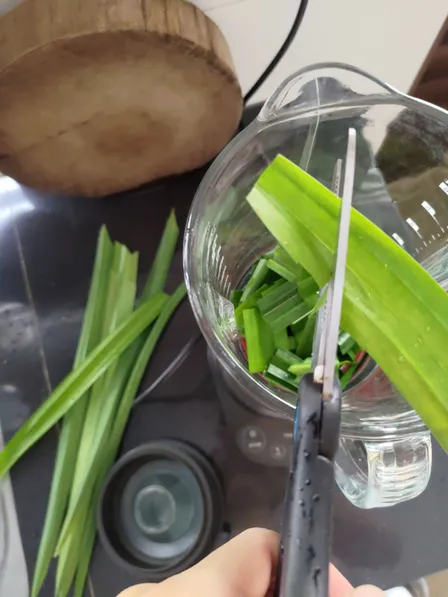
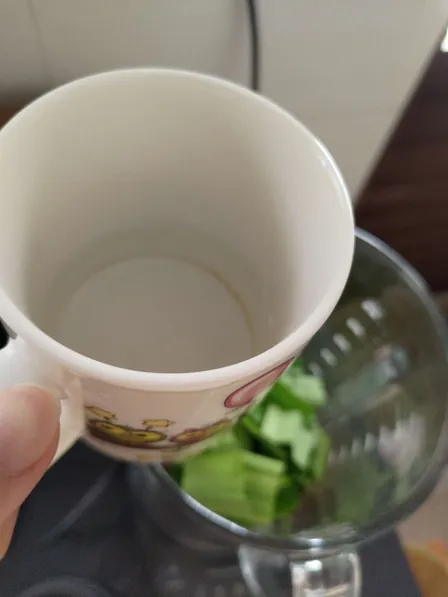
Blend it like 5 minutes. Or until you feel like it's got some super green liquid going in there.
Then use a steel filter and a spoon to squeeze the juice out of the pandan mess.
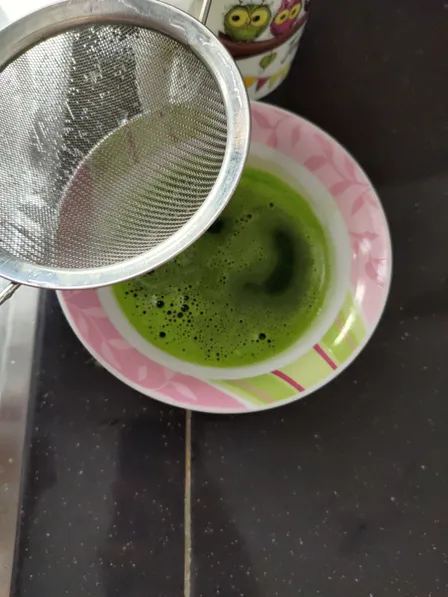
OK we are done with pandan juice. What I do next is lay some groundworks.
Heat the Oven
Yeah you need an oven...sorry :(
Oven settings:
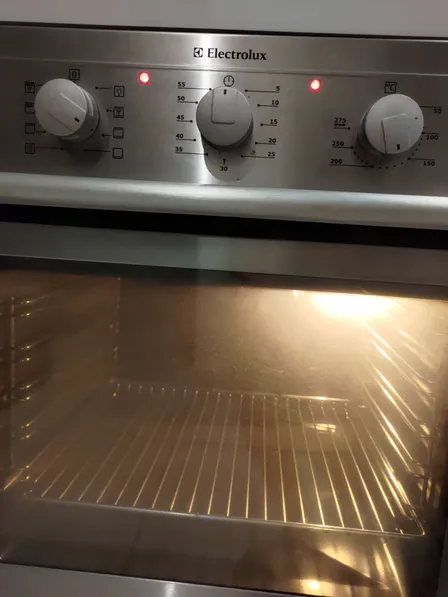
- Don't turn on the fan. It dries out the moisture and prevent it from rising(i think).
- No need set the timer yet. Set it once you have put the pan in. Timer is 50 minutes.
- Temperature is 170 - 175 Celcius. I like to go the higher end lately coz I think it makes the end result more aromatic probably because the top layer is more baked. If I do go higher, I would shorten the timer proportionally. That's how I feel about it and so far it's working great for me :)
- You gonna place it at the lowest rack.
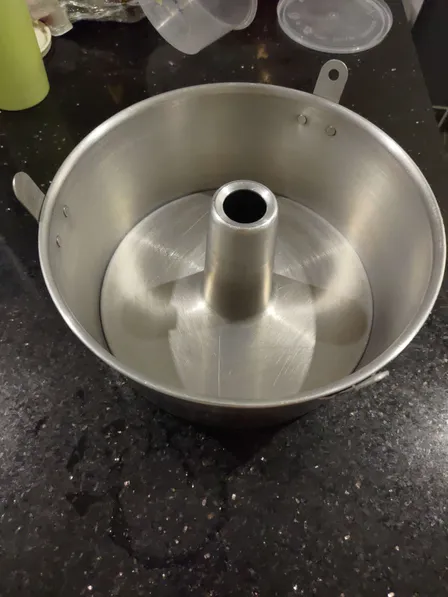
Bring out 'chiffon tube pan'
No need oil or water here. Leave it alone as it is. Dry.
Also, notice the 3 protruding 'legs'. They will support the pan when you tip over for cooling after you took it out of oven.
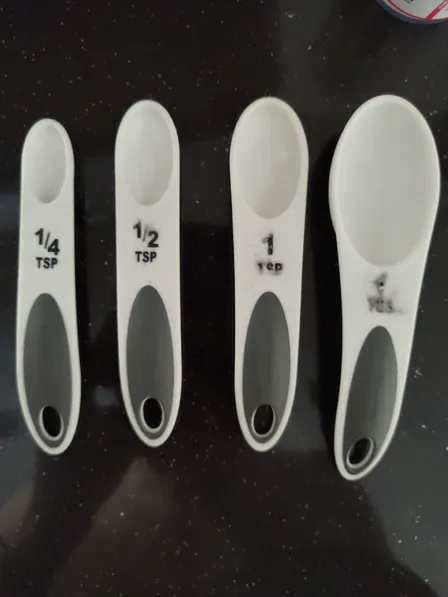
Get ready to measure with spoon units
OK now we can play with flour!
Cake flour, baking powder, and salt
- 100g of cake flour
- 1 tsp baking powder
- ¼ tsp salt
Get a bowl.
Measure each of the 3 items above and throw them all in that bowl.
Mix them with a whisk or whatever you got.
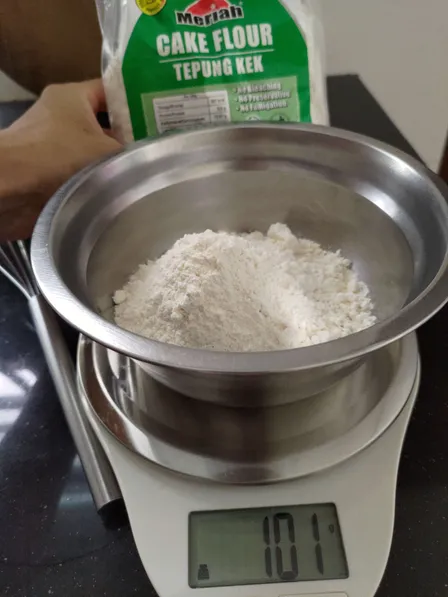
OK we are done with this bowl! It will come into play again later. Put it aside first.
Next we are going to work with eggs.
Before we do that, we need to get another two bowls(ya im just gonna keep calling them bowls).
One big bowl and one smaller bowl
I said we are going to work with eggs. Specifically, we are gonna separate egg yolk and egg white - the egg white will be in the big bowl, and the egg yolk will be in the smaller bowl. I will show you how to separate them. For now, just get the bowls.
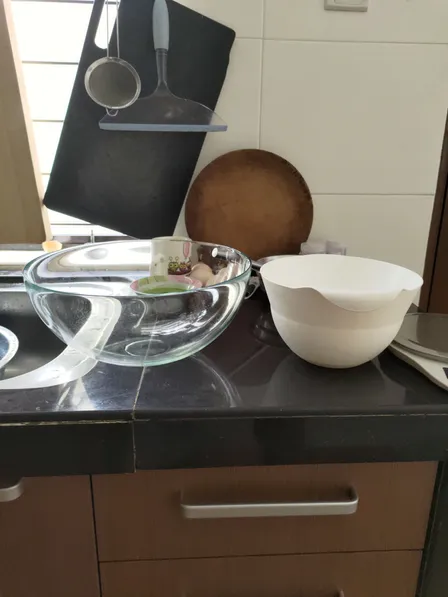
Ok now just another tiny small step before we do the eggs - let's put some sugar in the smaller bowl.
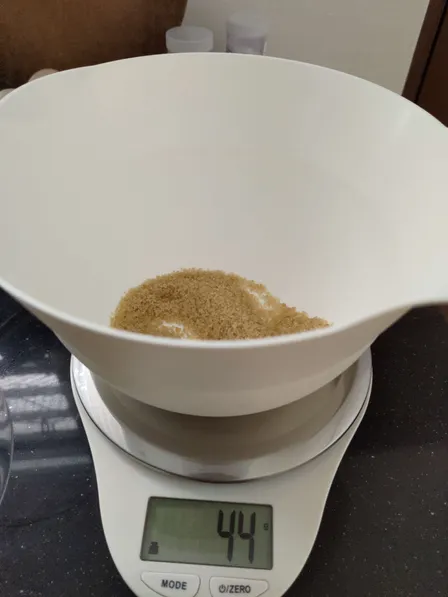
45g sugar in the small bowl
Put 45 grams sugar in the smaller bowl in which the egg yolks are going to end up.
OK! Now let's smash some eggs!
Separate egg yolk and egg white
Get 5 eggs with decent size. Small eggs won't give you good amount of egg white which as we will see is where most of the volume of the cake comes from.
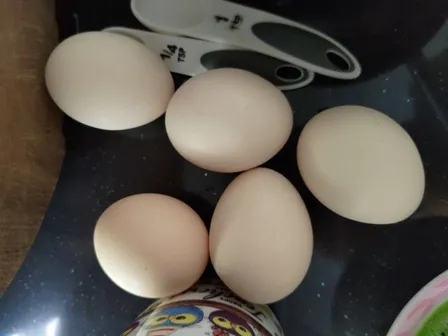
Ok, time to separate egg whites and egg yolk! The reason we are doing this is that we will blend the egg whites till they become super fluffy(you will see later). And only with egg whites! So you want to be very careful here: DO NOT CONTAMINATE THE BOWL THAT CONTAINS EGG WHITES WITH ANY - I repeat ANY - EGG YOLK. If somehow a egg yolk breaks and contaminated the egg whites, forget it - it won't work. It won't get fluffy. Happened to me once.
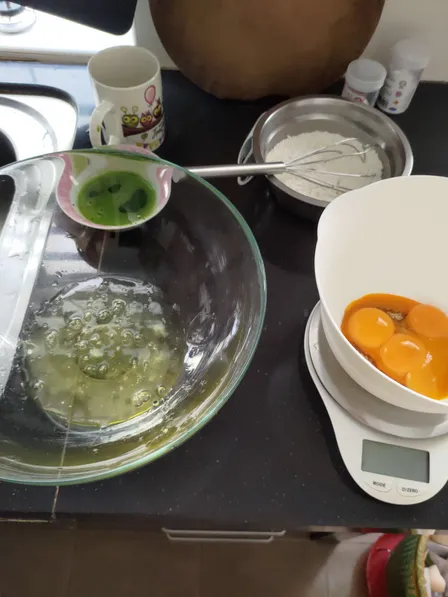
Next we are going to work on the egg yolk bowl.
Work on the bowl that has egg yolks
First, whisk the egg yolk and sugar till they become kinda bubbly, or color looks like lighter color of egg yolk, or the sugar is completely melted.
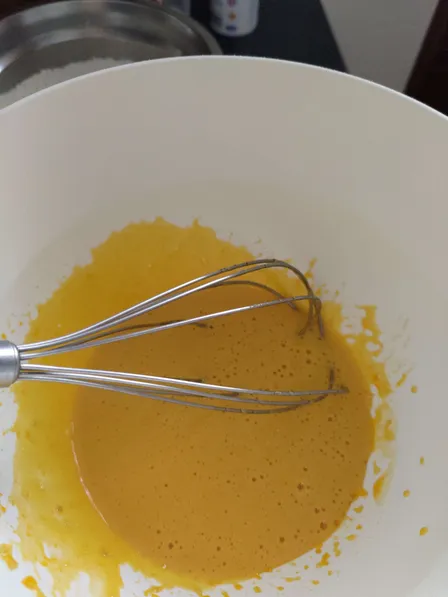
OK next add 85 - 90 ml of coconut milk into the bowl. I go for 90ml now to increase the coconut aroma.
Next, take a everyday normal spoon, and add 9 spoonful of the pandan juice. It has increased from 4 spoons since I started whipping the egg whites abit longer(this will become clearer later).
Next, add 3 tbs of vegetable oil.
Ok we are done adding stuff into this bowl! Let's give them a quick whisk and then add our cake flour that we prepared earlier.
OK we are done with this bowl for now. Put it aside. Now we are gonna work on the egg whites bowl. But before that, we need more sugar which we need to add when whipping the egg whites later.
55g of sugar
Prepare 55g of sugar in the bowl that previously contained the cake flour coz its dry(and one less bowl to clean afterwards).
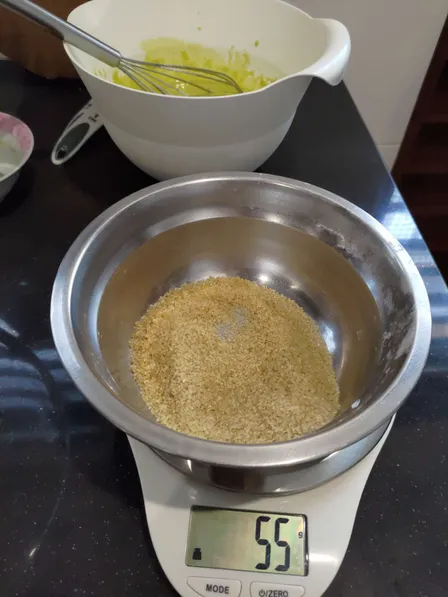
Now bring the egg whites bowl to the forefront coz its about to get some whipping.
Work on the bowl that has egg whites
Our only goal here is to whip the egg whites until it becomes 'stiff peak'
To that end, first add ½ tsp cream of tartar to the bowl.
Now here comes the whipping. I just use portable hand blender. Start adding the 55g sugar when the thing becomes frothy.
(Warning: Turn down your audio first because the blender can be too loud)
Something I learned recently is you can whip much longer even after you get the stiff peaks. It will get more dense and creamy. And this allows me to increase my dosage of pandan juice and coconut milk(to increase the aroma) without the whole batter get too liquid and leaking out when you pour it into the pan(also happend to me once..)
Also, this result of this step is what will give chiffon cake its spongy character because of all the air pockets trapped!
Next! We are going to mix the egg yolk batter with this batter in a manner called 'folding'.
Folding two batters
It sounds technical but 'folding' is basically where you gently mixing two batters with your whisk or spatula from bottom to top. Do it slowly here coz we don't wanna collapse the air pockets.
Mix them well until you don't see pandan green streaks when going from bottom to top.
Pour into the pan
Pour the batter to the pan and the batter will slowly fill up the entire pan.
After that, slowly work your whisk through the pan to even it out.
Put it in oven
Put it at lowest rank. And set the timer 45 - 50 minutes. I put 50 to get more aroma out of it.
As much as you are tempted, don't open the oven to poke it to see if it's already cooked or not. No, just leave it alone.
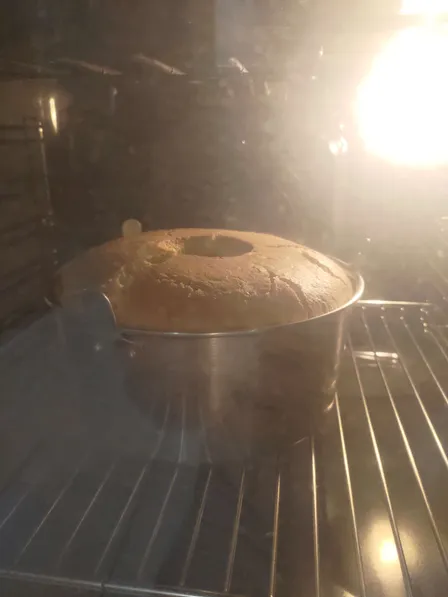
Tip pan over and cool it
This is an important step. Once timer is up, you get it out and quickly turn the pan upside down. And let the pan sit on its 3 'legs' and let it cool. Why? Because we don't want to collapse the structures that have formed around the air pockets.
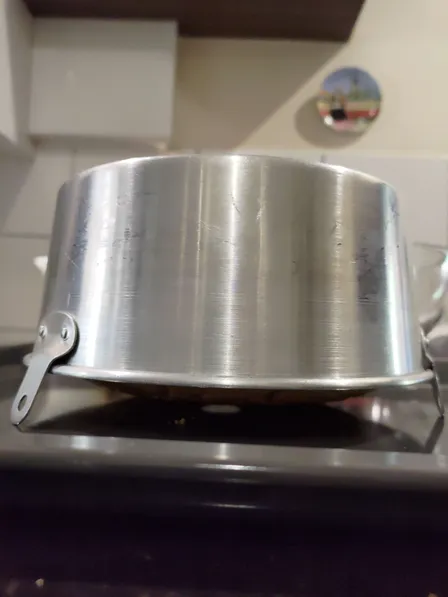
And we did it!
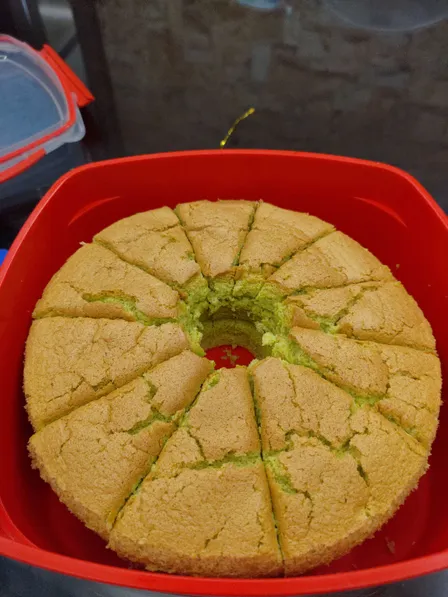
Storage
Once it's out of oven and cooled, put it in fridge! ☘